...and just like that, Eolian is decorated!
Merry Christmas!

As in the last couple of years, we aren't going to decorate the outside - the winter storms out here at the far end of D-dock are just too destructive.
...and just like that, Eolian is decorated!
Merry Christmas!
Way back in 2004 when we had Barrett Enclosures in Seattle make new cockpit canvas for Eolian, they produced the dodger as a single, complex piece of canvas consisting of three major pieces, all sewn together:
When I redid all the horizontal cockpit canvas, I made a new roof piece. To install it, I cut the original roof piece off and made the new roof attach to the top of the windshield with a row of Common Sense fasteners:
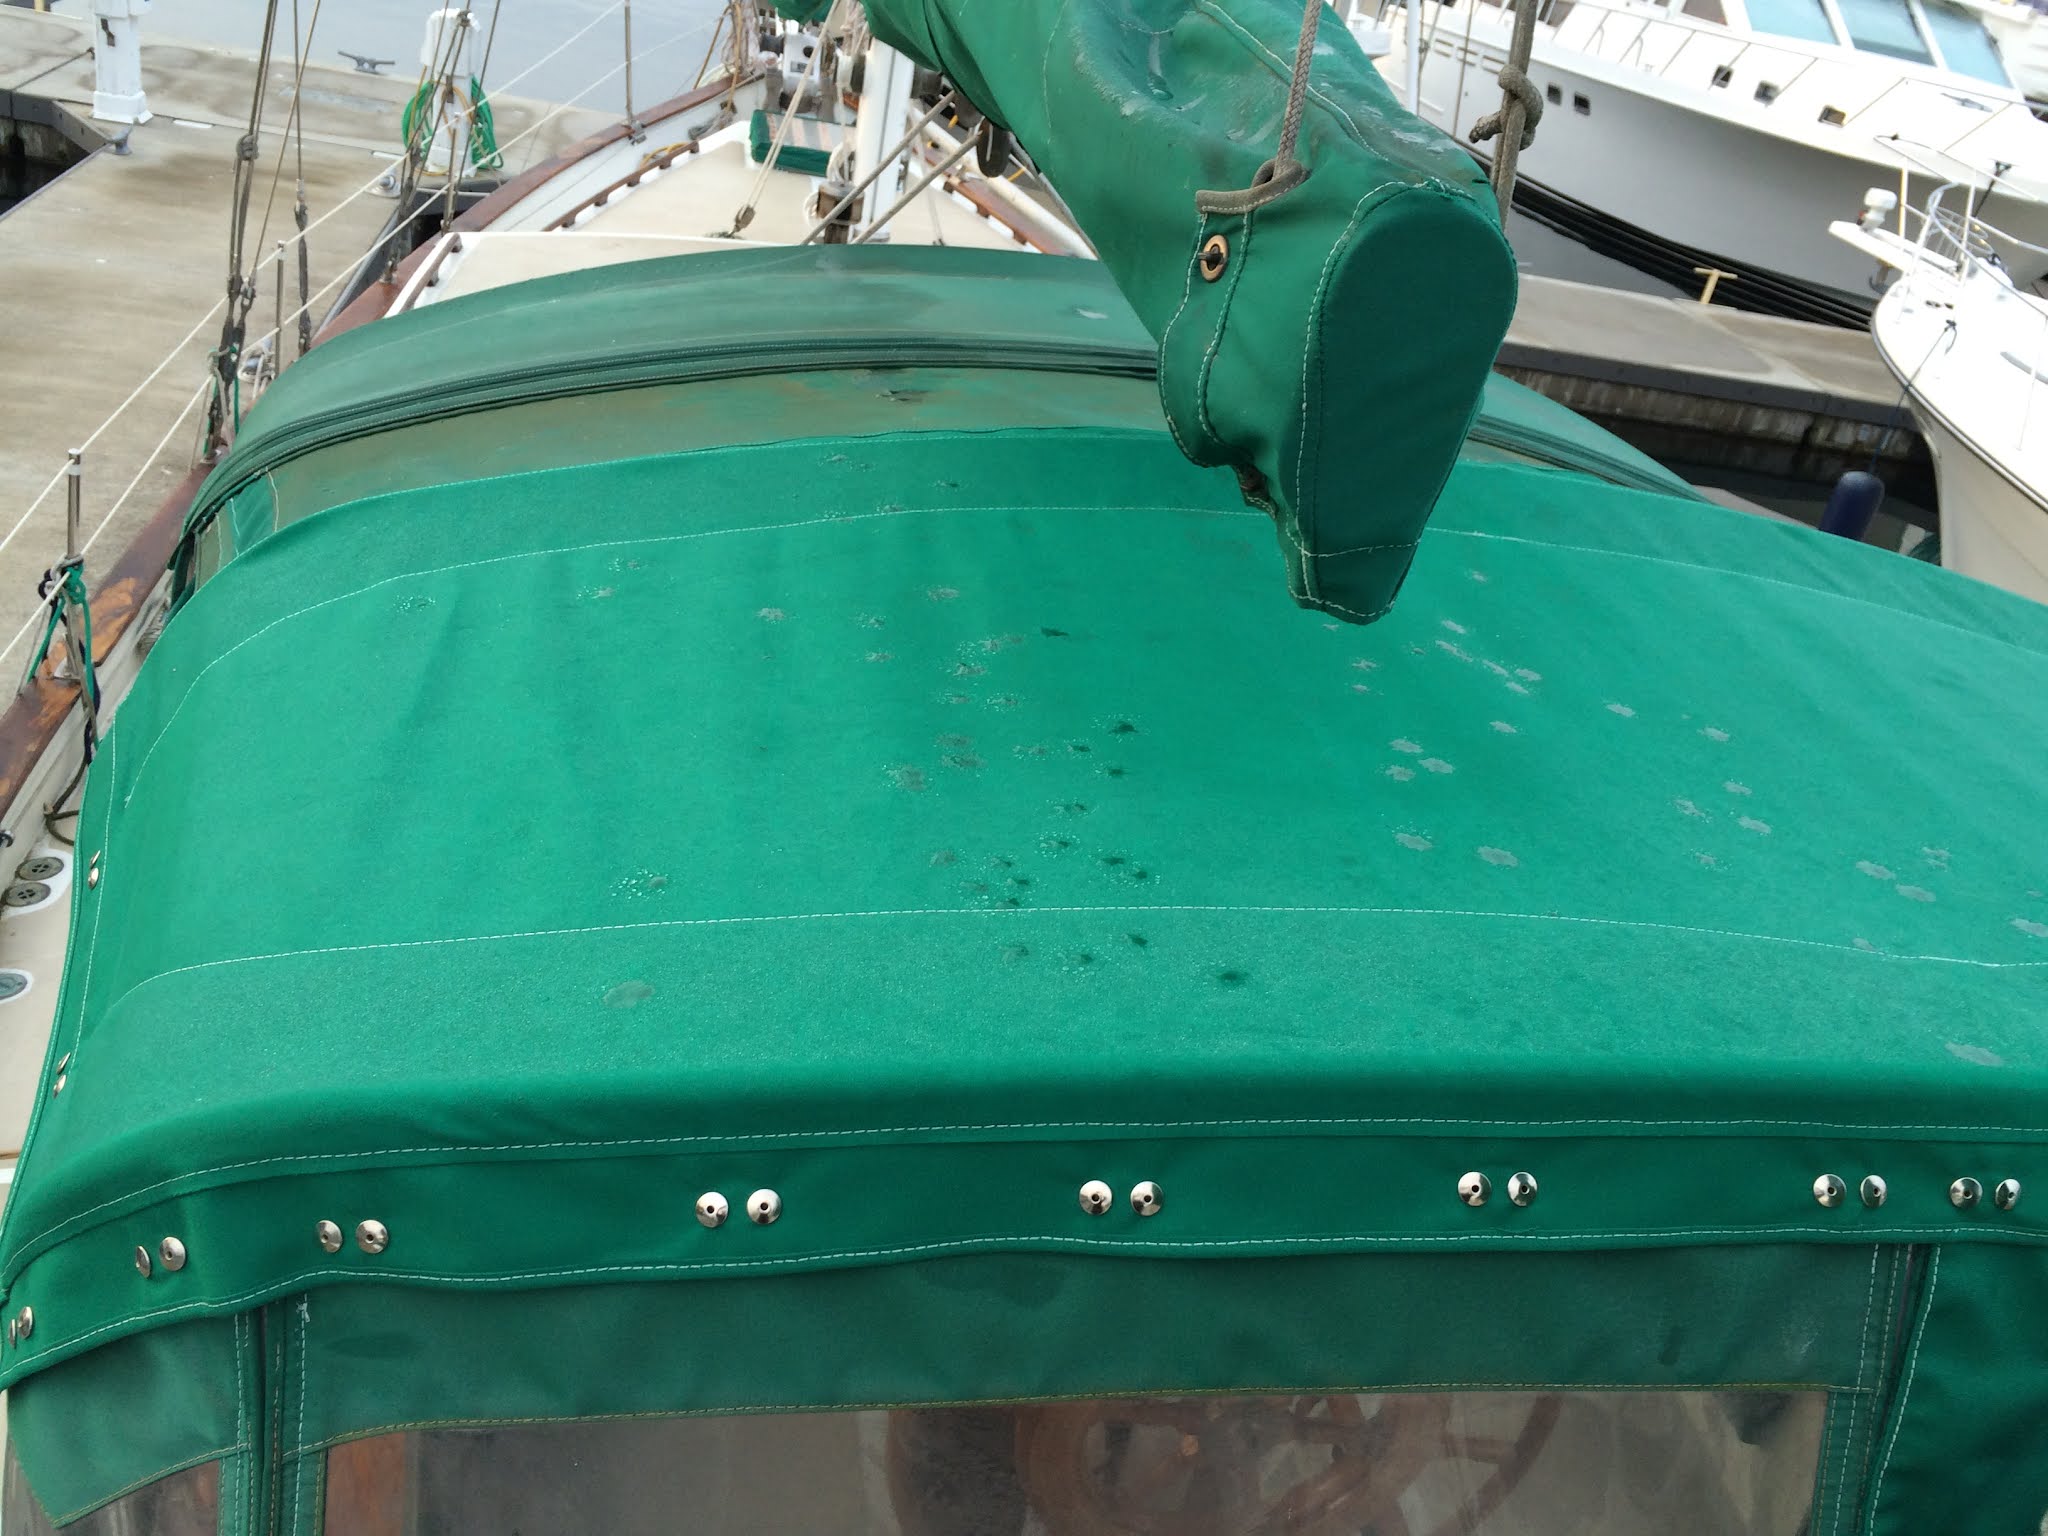
Given that the necessity of shedding rain far, far, far outweighs the need to shed boarding seas (center cockpit boats are great!), I selected Option 2. And once again, it is attached with a row of Common Sense fasteners.

This arrangement has gotten an acid test with this year's November storms, one after the other, with 50 kt winds - it is working great!
(Yes, I know it has been a loonngg time since I added to this blog. Life.)
I looked back to see, and I don't think I have ever mentioned this topic, so here goes.
As a part of owning Eolian and being responsible for her maintenance and upkeep, the beautiful teak and holly cabin sole needs periodic maintenance - more so in the more frequently traveled areas. This involves taping off an area, sanding with 220 grit sandpaper to provide "tooth" for the new coat of varnish to grip, and then applying varnish.
Recently, I took on the sole beneath the dinette table - an area that gets scuffed by people getting in and out of the dinette seating - something we do several times a day when aboard.
Here is a pictorial of that trip:
 |
| Tape and sand |
 |
| Apply varnish |
 |
| Voila! Pull the tape. |
But here is where the "Old Ways" part that I put in the title comes in:
When people are sliding out of the aft dinette seating, just above where this picture was taken, the natural tendency is to place your foot on the edge of the raised sole to assist. A shiny varnish surface provides no traction for this, and in fact can lead to an awkward slide and fall. To counteract this, I apply some non-skid to the edge of the raised sole just there.
What kind of non-skid, you rhetorically ask? Why, I'm happy you asked: I use salt varnish. This is a method whose origins are lost in the dusty archives of boating lore... but it is dead simple and very effective.
 | |
| Tape, varnish, salt |
 |
| Easy and effective! |
One should never disparage the Old Ways - there are some very clever and effective solutions hidden in them!

There are consequences from this kind of heat.
These are the remains of a Freon airhorn that we had kept in the cockpit, for decades. It says right there on the can, "protect from temperatures above 120°F". Well, sitting there in the fully enclosed cockpit, under the dodger windows, in the sun...
Yeah, it exploded.
And in doing so, some pretty significant damage occurred. In a forensic reconstruction (by me...), when the pressure became too much, the bottom seam on the can came unwrapped. The bottom disk (not that crumpled piece in the picture at the bottom of the canister - that's the diaphragm for the horn) stayed attached to the top edge just a tiny bit longer than the rest of the canister. As a consequence, it flew upward, punched a hole in the dodger roof, and left the boat completely.
The canister, now propelled by a liquid/vapor explosion, rocketed forward with enough force to completely trash the 4 foot long teak 1x2 cleat to which the bottom of the dodger window is attached, breaking it into several pieces. The top of the canister was severely dented in the process, and the plastic airhorn was completely destroyed.
The rocket exhaust from the exploding canister did more damage in the cockpit.
Thank heavens this was not a can of spray paint, or sunscreen, or even worse propane or butane. At least the non-flammable Freon evaporated leaving no trace.
Those of you who are out in the southern climes probably already take precautions with aerosol cans. But just in case, I hope that you will take this to heart. Aside from the damage, someone could have been seriously hurt by this explosion. And the way Murphy works with sailors, the canister would have exploded just as someone disturbed it by picking it up to put it in a shady place.


